SCREEN TIPS
Screentips are used to educate users with small bites of textual information, which could help the user know more about a feature in the app or notify the user on a particular screen within the app.
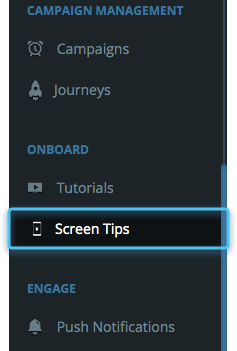
We can configure and access screentips from the menu panel of the dashboard in the Onboard section.
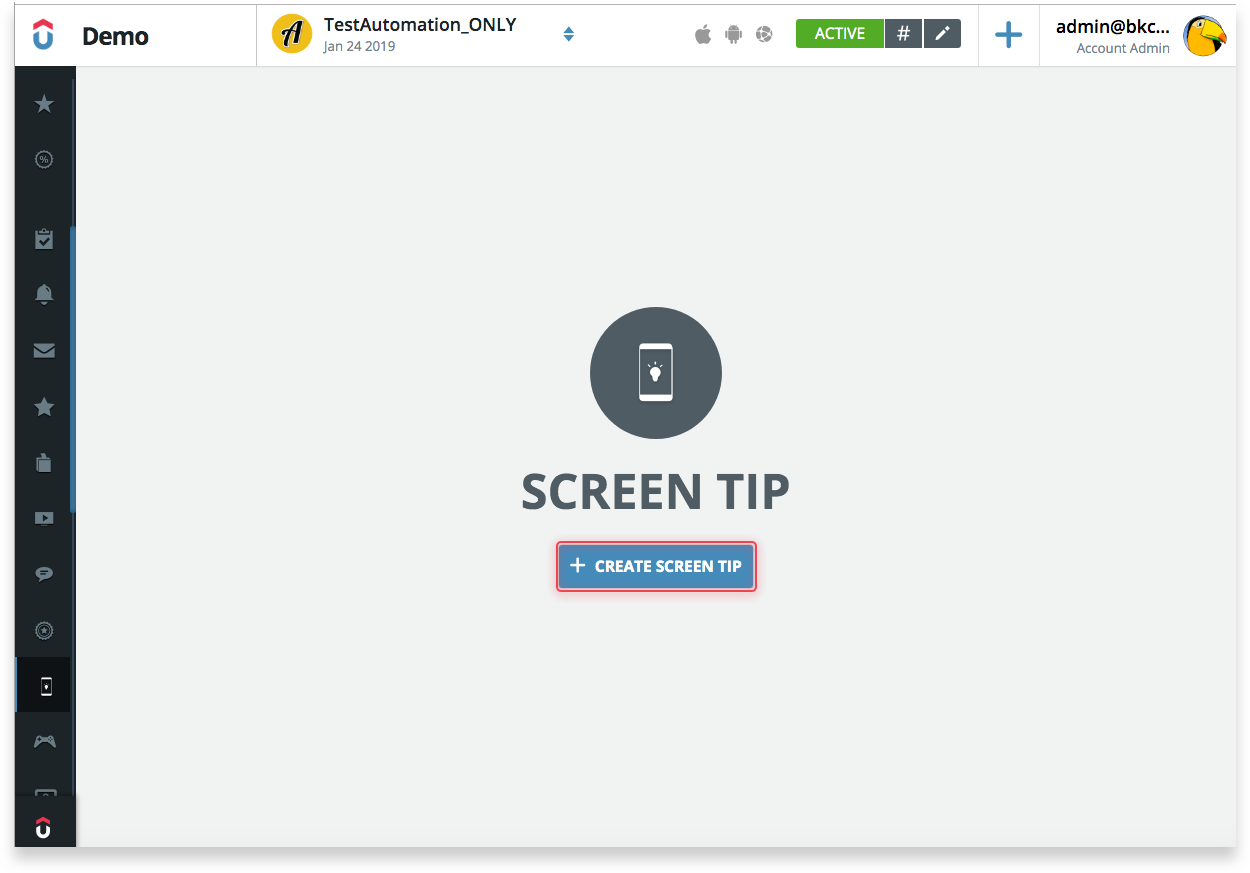
Click on “create” on the top right corner of the dashboard.
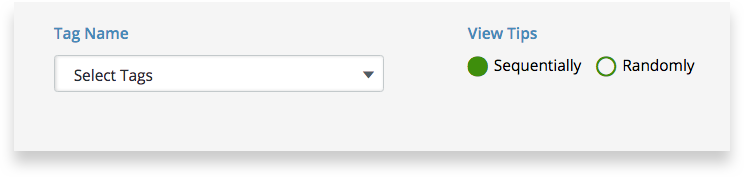
Select whether the chosen screen tip has a single tag or multi-tag. In simple terms should it appear once on a particular screen/event or on different screens/events.
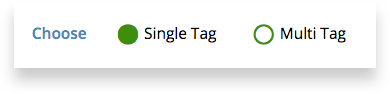
Single tag enables the single or multiple screentips to display on a single screen or event tag. Multitag tips are used to configure multiple tips on multiple screen/event tags.
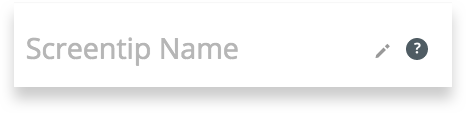
Give a name to the screentip
In case of multiple tips on a single tag, choose whether you want to show the screentips sequentially one after the other or appear randomly. Choose a screen/event tag to the screentip.
Choose the exit type of the screentip.
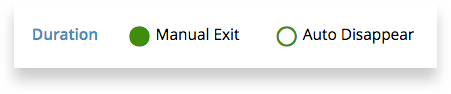
For the Manual exit option, a cross button appears on the screentip for the user to close the screentip manually.
For Auto Disappear option, select the duration for which a screentip appears on screen before disappearing.(Maximum time limit is 60 sec.)

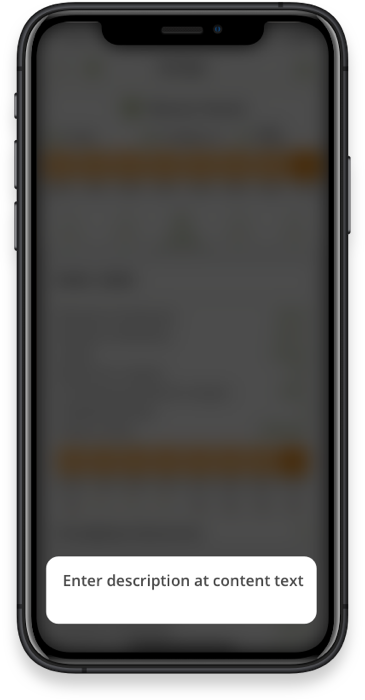
Customise the screentip text using available customisation options as shown below.

Enter the screentip text in the description box. (Max character limit is 128 characters).

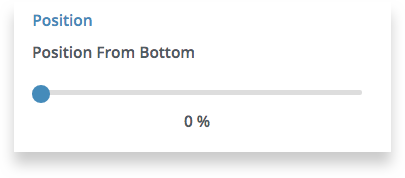
Set the position of the screentip from the bottom of the screen by sliding the position slider.
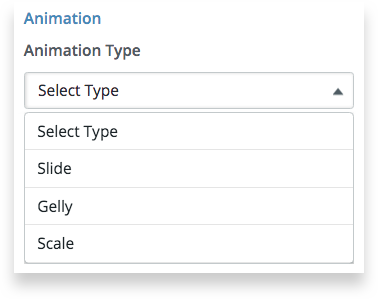
We can also add animation style to the screentips from the dropdown.
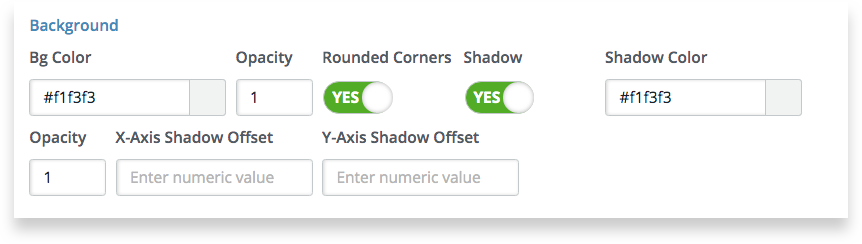
Customise the appearance by setting the background color, shadow, opacity, rounded corners, offsets.
Add the next tip by clicking on “Add Next Tip” to create multiple tips.

Click on “Create” button on the top right corner
