Surveys
Survey is the most powerful feedback gathering tool that can be used to collect any qualitative data you need. This section will allow you to create Surveys.
Click on ‘Surveys’ under Research in the left panel.
Create Survey
Click on “ + CREATE” icon to create a Survey

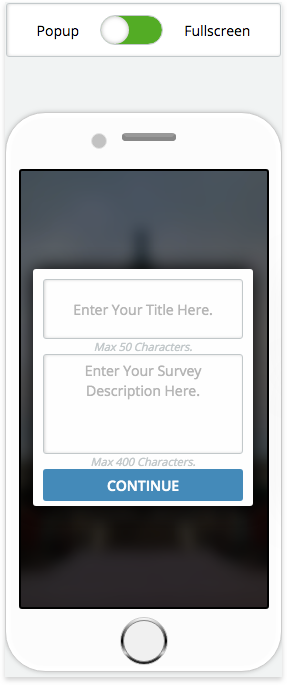
As part of Step 1, add “Title” and “Description” to the survey. Maximum character limit allowed for Title and Description are 50 and 400 characters respectivel
By default, the survey is displayed as a pop-up unless you switch to display it in fullscreen. The size of the pop up will be adjusted to the amount of text added with a scroll if needed. The UI specifications are fixed during SDK integration.
You can personalize the survey in various languages by clicking on “Localize” and entering text for Title and Description in the selected language/languages in which you want the survey to be displayed. Based on the language settings set in your mobile/web browser the survey is displayed accordingly.
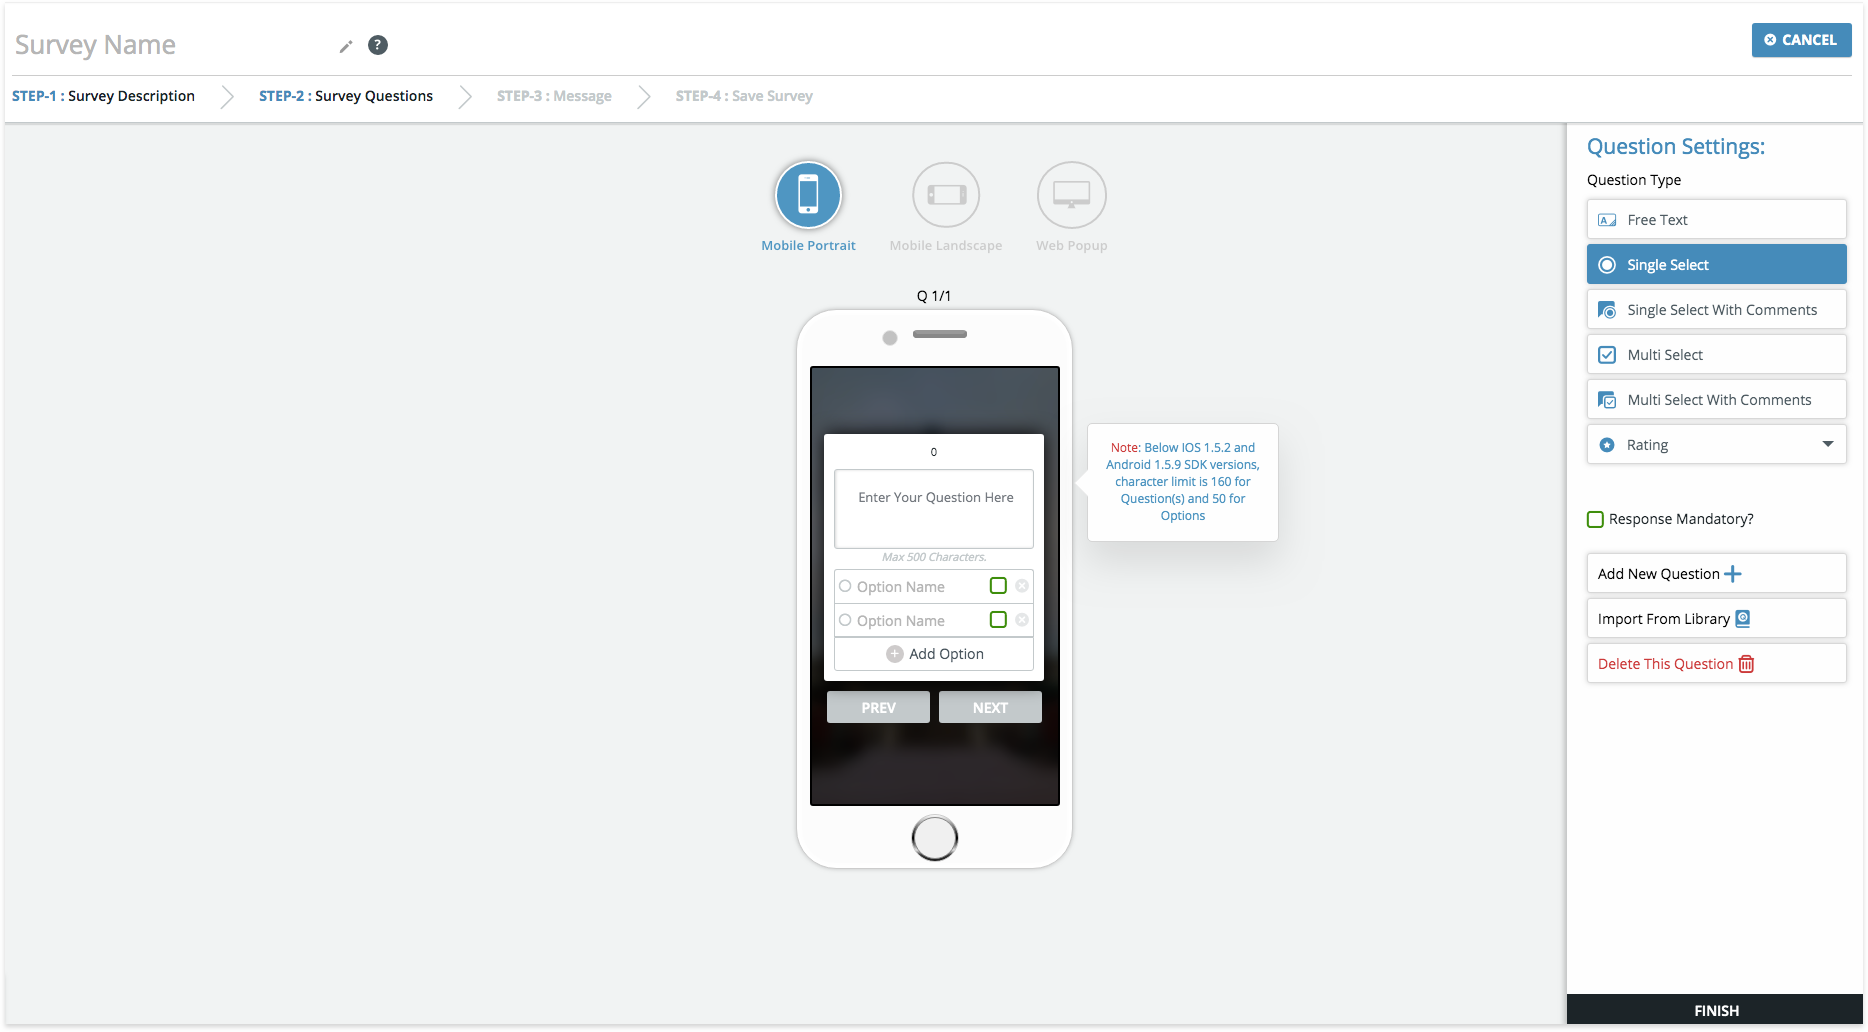
In Step 2, questions are added to the survey. Maximum allowed character limit for the Questions and Options are 500 and 100 characters respectively. There are various types of survey questions which can be created and below are the details.
SNo. Question Type Description 1. Free text A question that takes a free form user entered text as response.
2. Single Select A question whose response can be ONE of multiple options presented to choose from.
3. Single Select with comments A question whose response can be ONE of multiple options presented to choose from. Additionally, free form text comments can be submitted.
4. Multi Select A question whose response can be one or more of the options presented to choose from.
5. Multi Select with Comments A question whose response can be one or more of the options presented to choose from. Additionally, free form text comments can be submitted.
6. Rating - Star Rating
- Single Star Rating
- Multi Star Rating
- Smiley Rating
- Single Smiley Rating
- Multi Smiley Rating
- Slide Bar Rating
- Single Bar Rating
- Multi Bar Rating
- NPS
Single Star Rating - Can select star as a rating where 1 is the lowest and 5 is the highest.
Multi Star Rating - Select a Star rating for multiple questions/items.
Single Smiley Rating - Can select smileys where red(1) is the least and dark green(5) is the highest.
Multi Smiley Rating - Select a Smiley rating for multiple questions/items.
Single Bar Rating - Choose a rating value over a “slider bar” type interface. Can configure minimum and maximum values on the bar along with text labels for them
Multi Bar Rating - Select a Slide Bar rating for multiple questions/items.
NPS - Select a “Net Promoter Score”. Can configure the minimum and maximum value text labels for ‘0’ and ‘10’ values.
All single ratings questions & NPS can additionally capture feedback if the rating selected is below a certain threshold.
Response Mandatory - Allows you to make the question mandatory.
Add New Question - Allows you to add more questions to your survey.
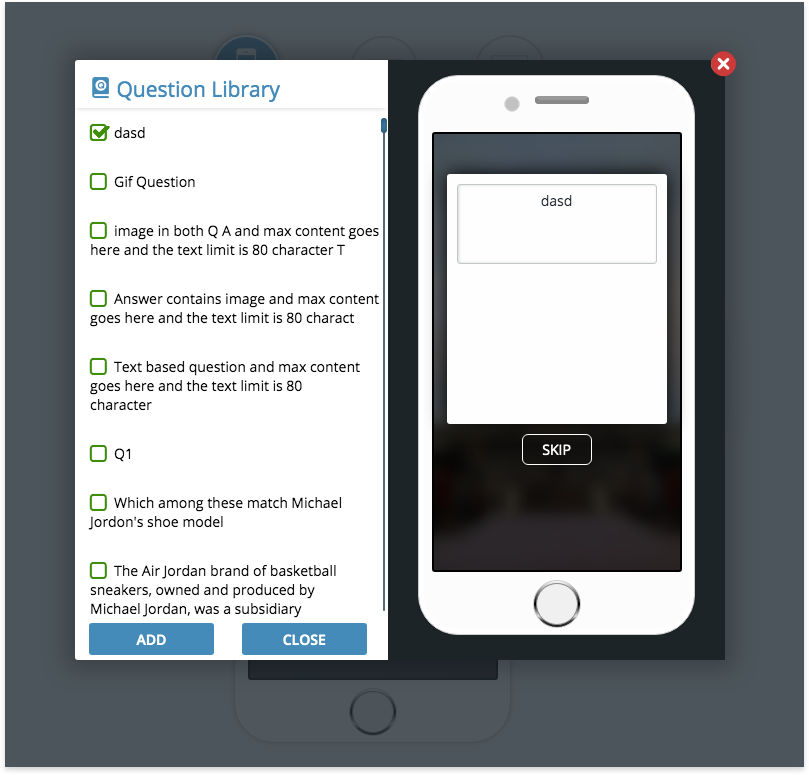
Import From Library - Allows you to add questions from your library of questions built over time running various survey campaigns across your apps.
Delete This Question -Click on “Delete This Question” to delete a question from the survey.
- Star Rating
As part of Step 3, you can choose the “Survey Type” based on how the questions are to be displayed.
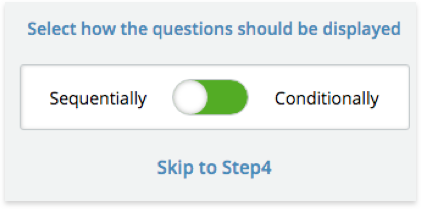
By default, Sequential survey is enabled. If you do not want to choose Conditional type of survey, then click on “Skip to Step 4”. If you choose “Conditionally”, rules can be set for each survey question and survey will be displayed according to the rules.
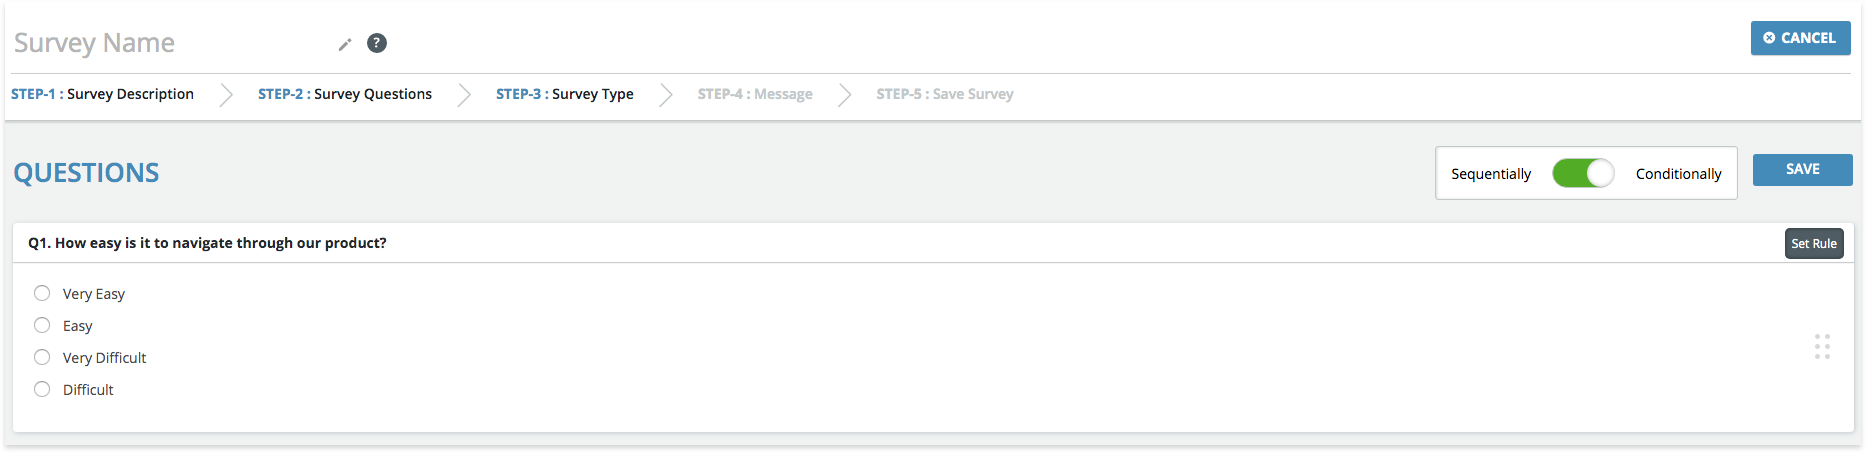
Rules can be set to each question by clicking on the button “Set Rule”. A pop-up is displayed to set rules for options of each question.
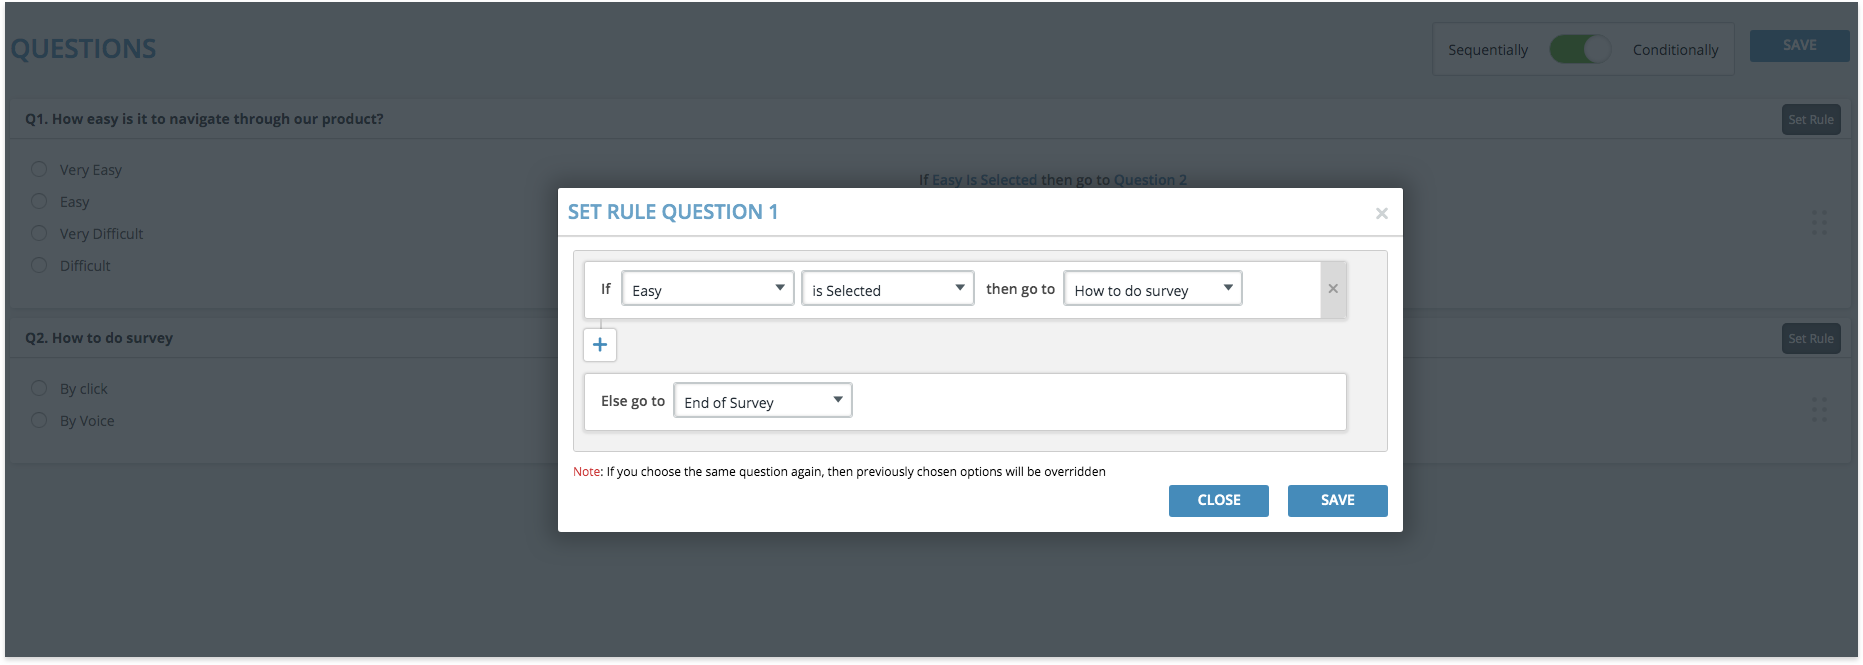
Each/Any of the options when selected/not selected, user can be redirected to a particular question or end the survey.
For example: Assume Option1, Option2 are two options in a single select question. The rules on this question are set to
“If Option1 is selected then go to Question2”
“Else go to Question3”.
This means, when the end user selects Option1 as the response then he/she will be presented Question2 as the next question. Whereas when Option2 is selected, Question3 will be presented
For single select questions, either a single option can be selected/not selected or “ANY” can be selected/not selected to set a rule. If the rule defined contains “ANY is selected”, it means “when any of the options is selected” and if the rule is “ANY is not selected”, it means “when none of the options is selected”.
In case of Multi select questions, either multiple options can be selected/not selected or “ANY” can be selected/not selected to set a rule. Logical AND operation will be applied between the options when one or more of the options are the actual responses.
If you set multiple rules on a matching condition, the first rule in the set will be executed. Example, if you set rules… “Goto Question 3 on selecting option 2” and “Goto Question 4 on selecting option 2” which is a conflicting rule. In this case the user will be redirected to Question
The rules set are displayed against each question as displayed in the image below.
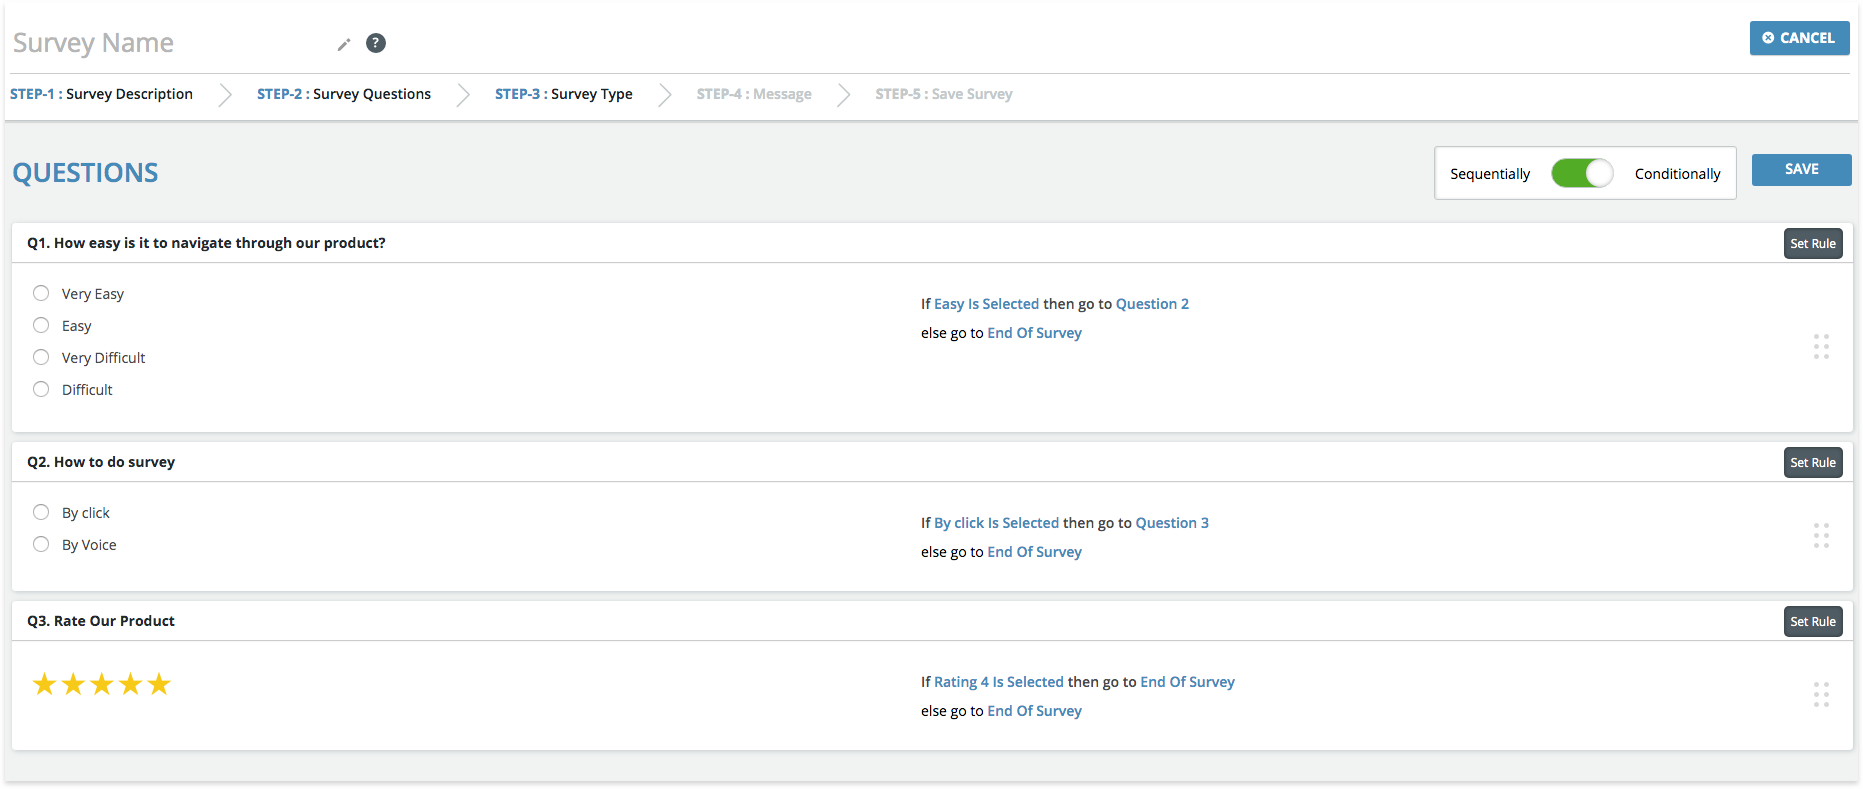
Click on “SAVE” button to save the rules of the survey. At any point in time if you want to move back to Sequential type of survey, you can do so by turning the switch towards “Sequentially” which will automatically take you to Step 4.
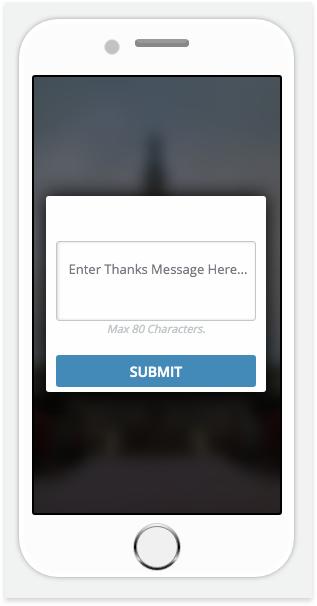
In Step 4, you can enter a “Thank you” message.
Save the Survey in Step 5 and add Tags.
Tags: Select the tag name in the tag section. This tag name would define the trigger point for the survey. Go to tags under content management to view all the defined trigger points for the app.
Allow Skip: This will add a skip button to every screen of the survey allowing users to skip without completing the survey.
Floating Button: If this option is enabled, then the survey will display the buttons in a floating layout.
Click on “CREATE” to create your survey.
View Surveys
Survey once created will enter the “DRAFT” status. You will be able to View, Clone , Edit and Delete when the survey is in draft status.
Click on the “Draft” status button to make the Survey “ACTIVE”. You will be able to View and Clone when the survey is Active.

Click on the “Active” status button to make the survey “INACTIVE”. You will be able to View, Clone and Delete when the survey is Inactive.
Only “ACTIVE” surveys are available in the Campaigns.