JOURNEYS
The term “Journey” in Upshot.ai is used to describe the list of automated campaigns that a user would go through if he qualifies certain conditions specified in the workflow.
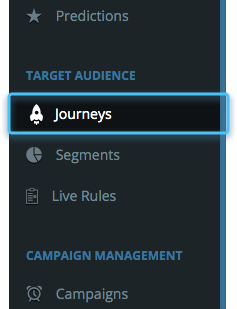
You can create and access the journey module in Upshot.ai dashboard in the Target Audience section.
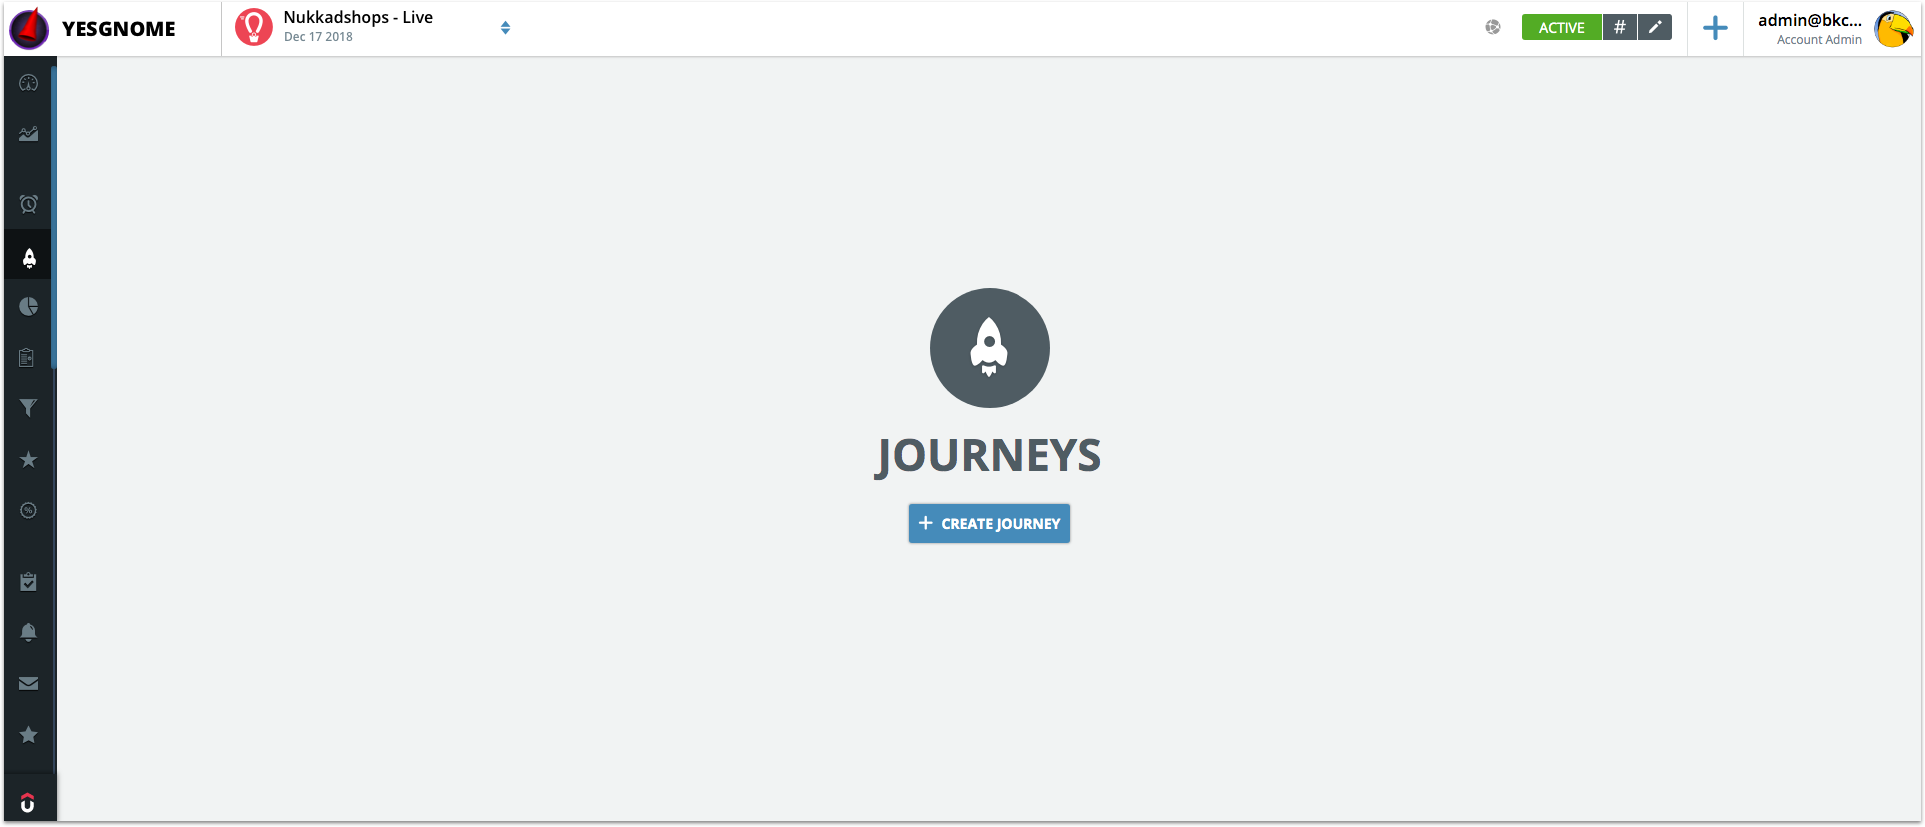
To create a new journey click on “Create Journey” button:
Journeys are made up of Triggers, Actions, Conditions and Flow controls:
- Triggers : Triggers start journeys. In other words users start following a journey based on the triggers.
- Actions : Actions do things. For example sending a push notification, email etc..
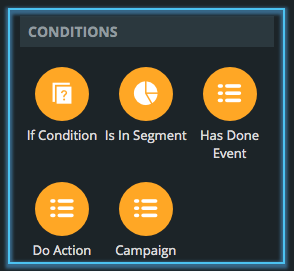
- Conditions : Conditions check whether user meets the specified criteria.
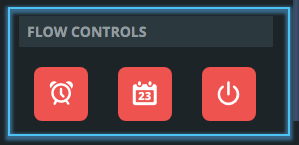
- Flow Controls : Flow controls help in scheduling and delaying the flow through control parameters.
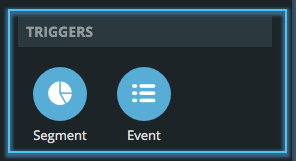
Triggers
Triggers are of two types:
Segment Trigger
Event Trigger
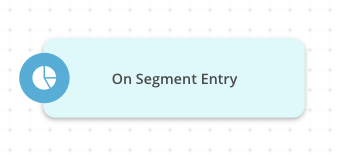
Segment Trigger:
You choose Segment trigger when you want all the users in a segment to go through a journey. Every time a user gets added to the chosen segment, they start on a new journey.
Drag and drop the segment trigger on to the journey canvas.
Select the segment you would like to add the users from:
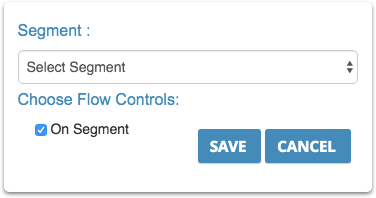
The drop down will display all available active segments on the dashboard. Select required segment and click on “SAVE” button.
Flow controls are conditional paths through which a user can go through. For segments, the only path is “entering a segment” which is represented by “On Segment”.
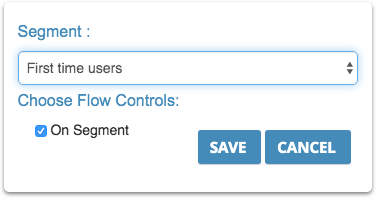
For example we chose First time users
Event Trigger:
You choose Event trigger when you want all users who perform a particular event to go through a journey. Unlike via segment triggers, a user will go through the same journey every time the selected event occurs.
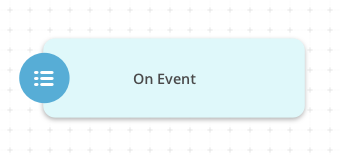
Now select the event upon which the journey should start. Click on “On Event”
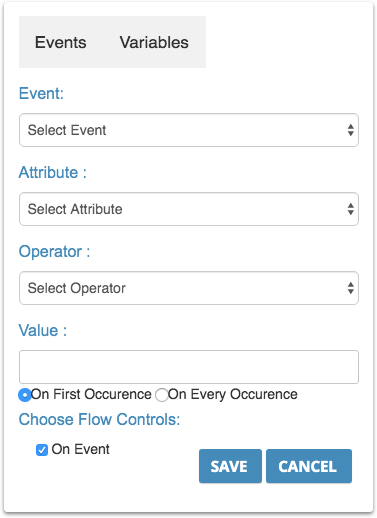
We can define the journey at event level or at attribute level based on the case studies level of detail.
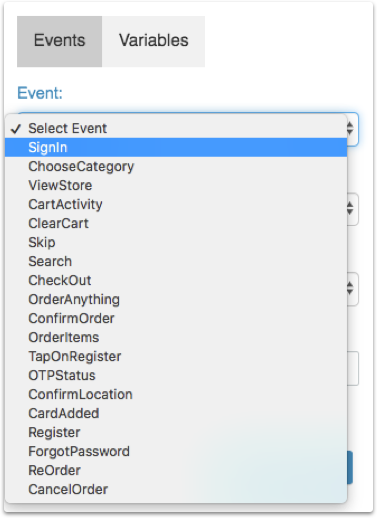
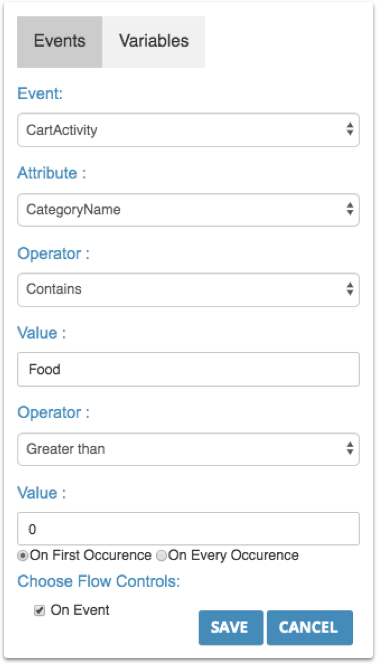
Select Event : Pick an event from the list of custom events available in the dropdown.
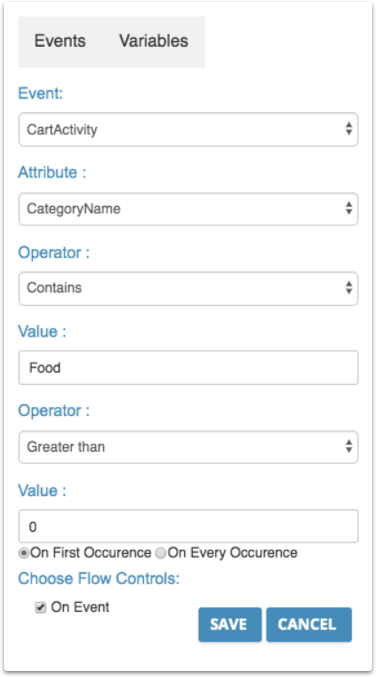
Use case : For all users, who did the “CartActivity” event where the “ChooseCategory” attribute “Contains” value equals to “Food” , send a push notification to notify the user to make a purchase before the deal ends.
In the above screenshot there is Variables tab next to Events. In journeys we can define our own variables based on the user action and save it to use later.
Use case: Let us assume that I have configured my Event trigger as below:

I triggered my Journey when the user performs “ChooseCategory” event. Now I want to show a different In-app message for different categories that the user chooses.Inorder to show that, I need to save my user chosen category in a separate variable which I can use in the later part of this journey(Local) or in any other journey(Global).
How to create and assign a new variable?
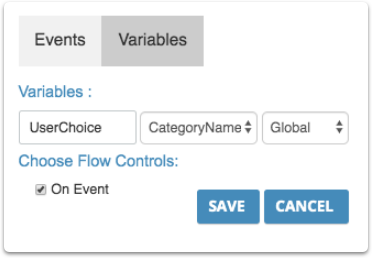
Click on Variables tab which is next to Events.
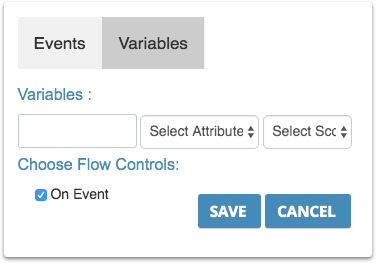
Name the new variable and select the attribute value(Dropdown has the list of attributes related to that particular event chosen in the Events tab) from which the new variable needs to fetch and save the data.
We named the new variable as “UserChoice” and tagged the “CategoryName” attribute of “ChooseCategory” event to fetch the data.
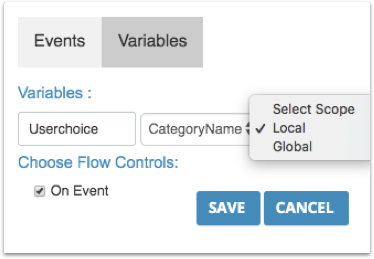
Select the scope of the variable “UserChoice” , it can be local or Global.
Local Variable : It can be used again in the same journey.
Global variable: It can be used in other journeys as well as across all modules where personalisation can be used (eg: Push notifications,Email etc.). This variable gets added to user profile data and while personalising push it gets fetched with the rest of the user profile attributes after typing @.
Select “On First Occurrence” if the journey has to trigger only once after the condition of use case is met or “On Every Occurence” to trigger the journey every time the rule gets satisfied.
Click “On Every Occurence”, you will find a sub condition “Unique on”. You can pick an event attribute on which this journey is triggered for every “unique” value encountered for the attribute.

Use case: If you wish to give a one time discount for every user on every item in your store, you would select the attribute “ItemID” that defines the product in your system. This way, everytime the user buys a product for the first time he gets added to the journey and gets a discount, but for subsequent purchases of the same product he would not get the discount.
Choose Flow Controls:
Flow Controls are the user actions upon which the journey should be processed. It is a conditional flow statement that diverts the journey based on the user actions.
For trigger blocks, flow controls are by default “On segment” and “On Event”
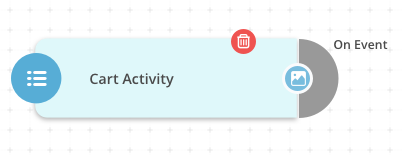
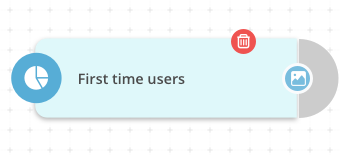
Delete Icon:
For trigger blocks, flow controls are by default “On segment” and “On Event”
There is a bin icon on the top of the event in red colour which will be helpful in deleting a particular event in the journey.
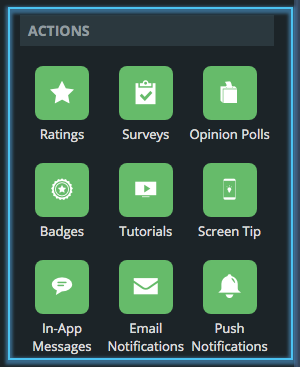
Once we are done with creation of event , we can choose any of the below journey components to proceed further:
Actions: Showcasing an action (Push, Inapp, Survey etc.) to the user who performs the event.
Conditions: Conditional journey paths can be designed with the help of the conditional components.

Flow controls : We can control the user passage across the journey with the help of flow controls.
Journey use case:
Use case: When the user perform an event “Cart activity” where he added an item from “Food” category and “does not checkout” in the next “30 minutes”, send a push notification and show an Inapp message to the user displaying an “offer code”. If the user checkouts , send a push tagged to a rating request and end the journey.
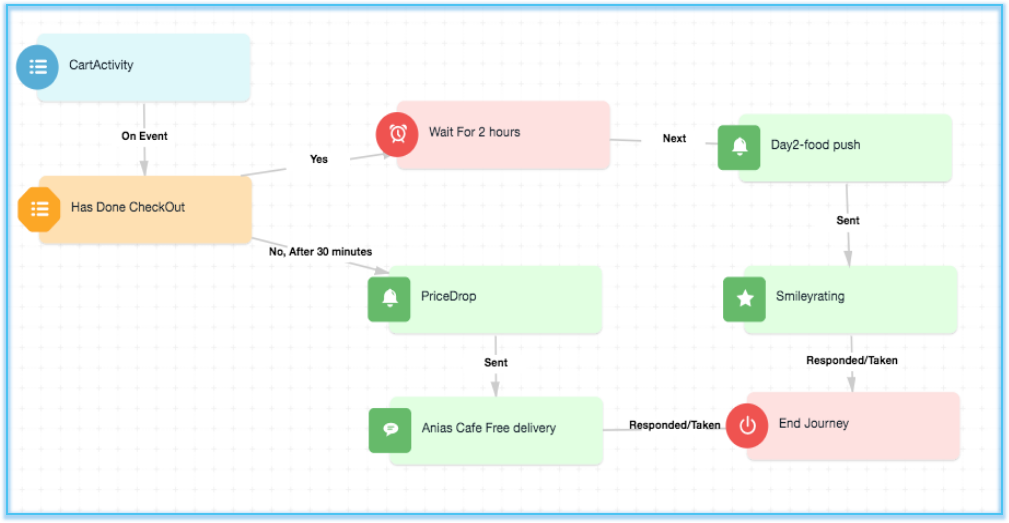
Triggering the journey: We are triggering this journey with an event trigger, Let’s have a look at how this event is defined internally.
Trigger : Users who have done “CartActivity” event where the CategoryName is “Food” on first occurrence of this event ( On event ).
Defining the new variable: I want to save user chosen CategoryName i.e., Food in this scenario in a new variable called “Userchoice” which I can use to personalise my push notification in In app,Push and Email.
Saving this variable as global variable enables us to reuse this variable in personalisations across different journeys and Upshot actions.
Setting up a condition
Now we are setting up a condition or rule that the user has to satisfy to move further on this journey. We want to validate whether the user performed the “checkout” event. To define this condition, we need to pick the condition “Has done event” from the list of conditions available.