FUNNELS
A funnel is the set of steps a visitor needs to go through before they can reach the conversion.
For example : Let’s look at the purchase funnel of Amazon. The user has to go through a few steps on the website/app before they make a purchase.
Step1: They have to visit Amazon.com
Step2 : They have to view the products
Step 3: They have to add the products to the cart
Step 4: They have to purchase
User might visit a few other features of the website like About Page, Career Page etc but those are unnecessary to be included in the purchase funnel.The top of the funnel (Visit the website) is where everyone goes and only the most interested buyers will move further down the funnel.
By analyzing funnels and drop offs at each stage of the funnel, we will be able to find funnel leak stages and channel the same drop off users through the last conversion point.
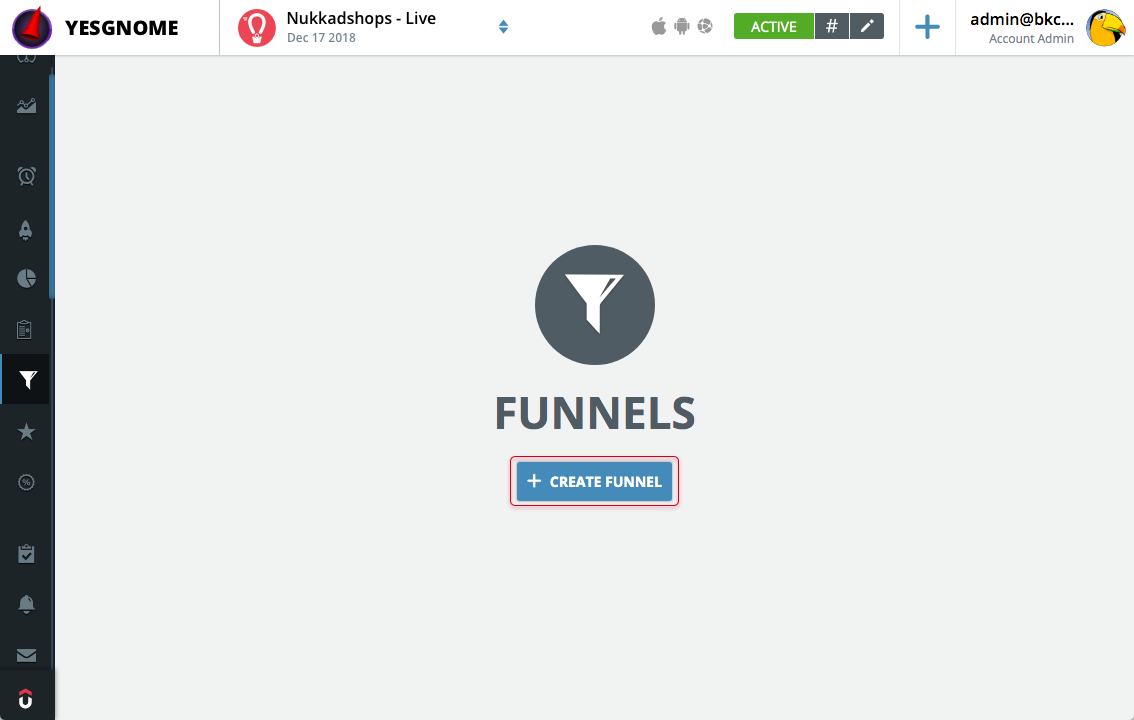
How to create a funnel in Upshot.ai?
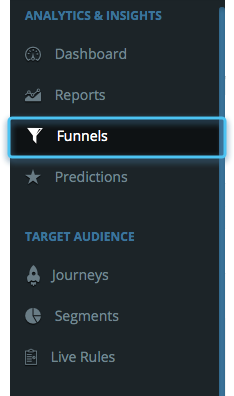
You can create and access Funnels module in the Analytics & Insights section of Upshot.ai dashboard.
To create a new funnel click on “Create” button.
Before defining the steps of the funnel, we need to choose the users segment which needs to be processed through the funnel. All active and predefined segments will be available in the “Select Segment” dropdown to choose from.
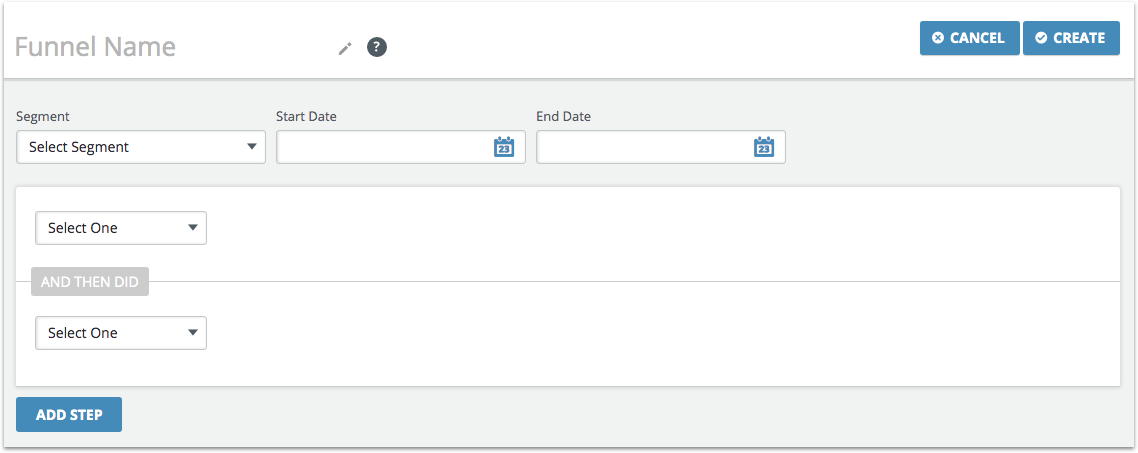
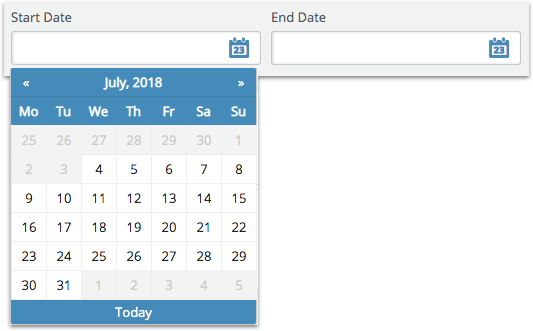
Then we need to select the “Start Date” and the “End Date” to set the period for funnel calculation.
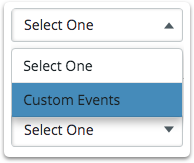
Now select the steps (Custom Events) for the funnel. From the drop down select “Custom Events”.
For example, Let’s create a conversion funnel to track : Out of “All users” (User Segment), how many actually made a purchase (converted) in the month of March.
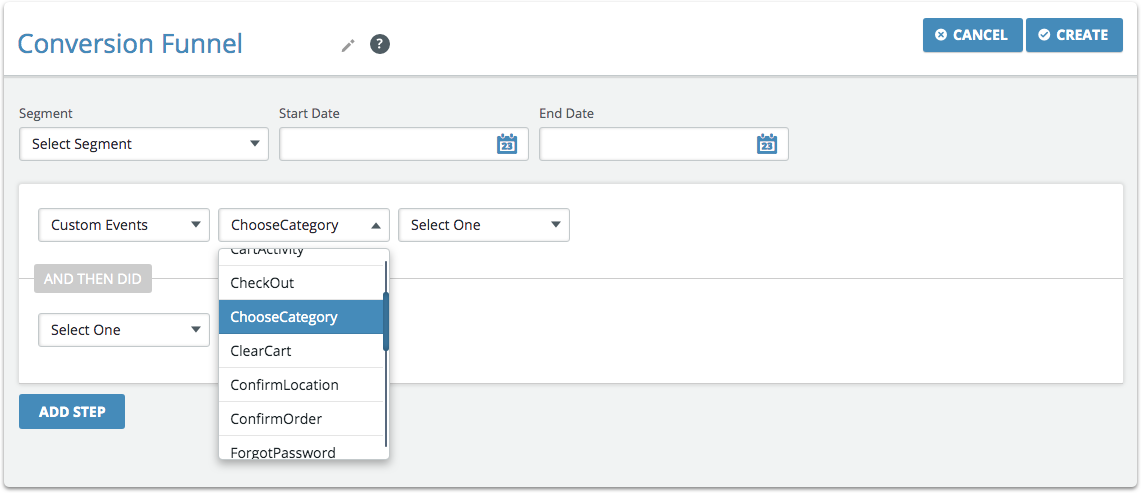
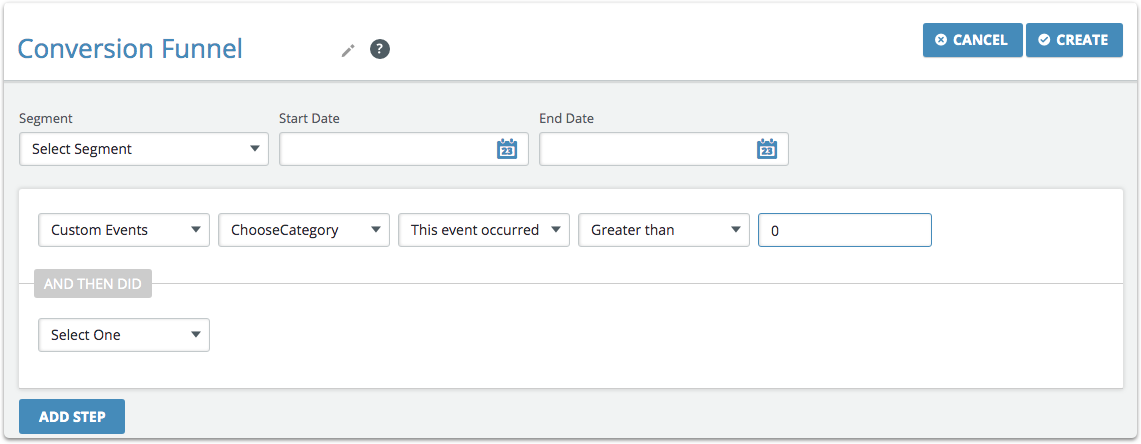
Let’s add “Choose Category” as the first step of the funnel. We can further drill down this event at attribute level by selecting only particular category users (again depends on the level of detail required for the business use case), but I want to funnel out all the users who performed “Choose category” event.
Custom events → Choose Category → This event occurred → Greater than → 0
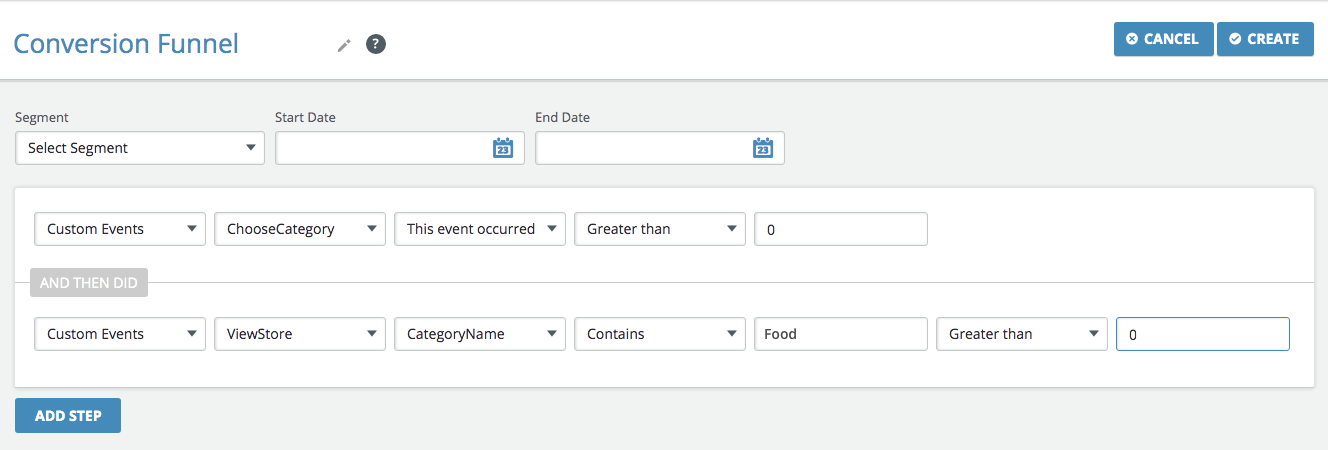
Now, let’s add the second step of the funnel where we will funnel down users who have visited a store of particular category- “Food”. This time we are filtering at attribute level.
Custom events → ViewStore → CategoryName → Contains → Food → Greater than → 0
Similarly add remaining steps of the funnel (CartActivity → Checkout → Confirm Order) as below:
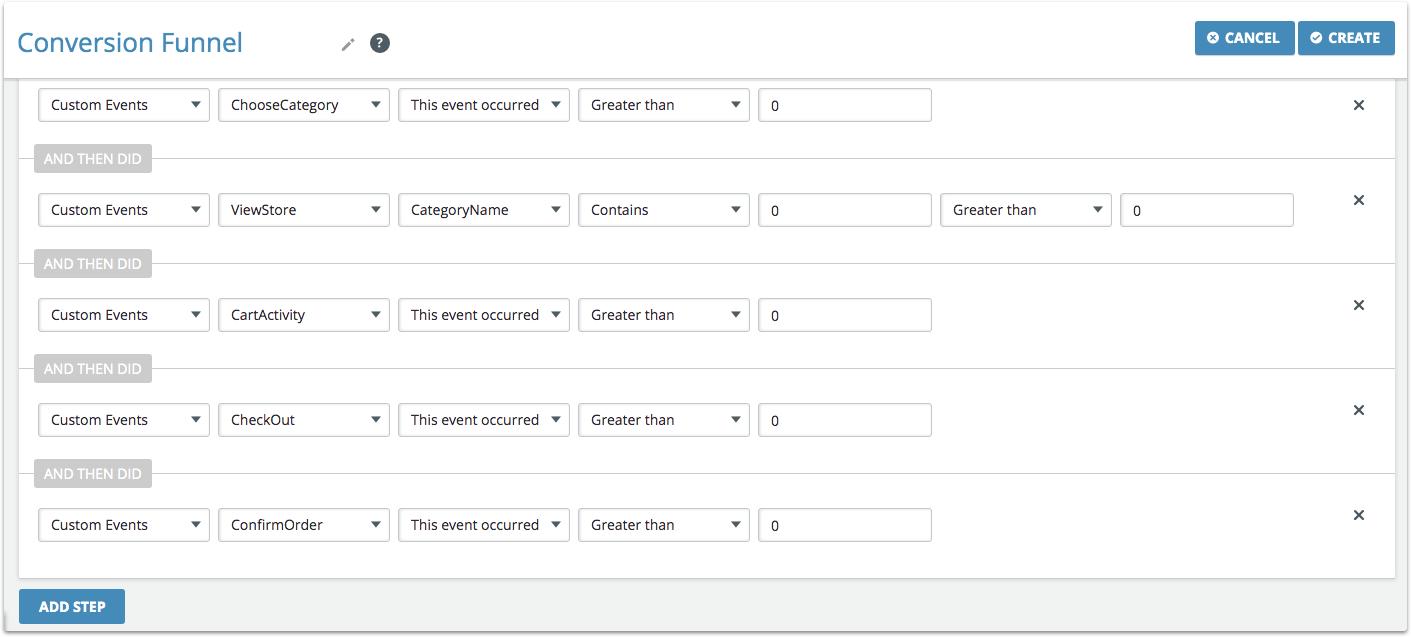
We have added all the necessary steps to create a conversion funnel, now click on “Create” at the top right corner to complete the creation of funnel.
The funnel will be available in “Draft” status after creation and we need to activate it to generate a funnel report for the defined purchase funnel. To activate click on “Draft”, the status gets changed to “Funneling” and then “Active”.
(You will be notified via mail when the funnel is ready to analyse. The funneling time depends on the segment size )